Properly installing and positioning ceiling lights is crucial for achieving optimal illumination in any room. Here's a step-by-step guide to help you ensure that your ceiling lights are installed correctly and positioned for the best lighting results:
1.Plan the Lighting Layout: Consider the room's functionality and the activities that will take place in it. For example, a kitchen may require brighter and more focused lighting over the countertops and cooking areas, while a living room may benefit from a mix of ambient and accent lighting to create a cozy and inviting atmosphere. Take note of any existing natural light sources and consider how they will complement the artificial lighting.
2.Choose the Right Fixtures: The selection of appropriate fixtures plays a significant role in achieving optimal illumination. Consider the height of the ceiling and the available space for the fixtures. Recessed lights are an excellent choice for low ceilings as they create a streamlined look, while pendant lights add a touch of style and work well in spaces with higher ceilings. Choose fixtures with the right light output and color temperature to match the intended ambiance of the room.
3.Turn Off Power and Prepare the Area: Safety should be a priority during installation. Turn off the power to the specific circuit that powers the existing light fixture or use the main circuit breaker to cut the electricity to the entire room. Clear the area beneath the installation spot to ensure there are no obstacles or hazards that could interfere with the installation process.
4.Install the Ceiling Box: When installing new fixtures or replacing old ones, ensure that the ceiling box is properly mounted and secured to support the weight of the new fixture. Follow the manufacturer's instructions and adhere to local building codes to ensure a safe and stable installation.
5.Connect the Wiring: Take extra care when connecting the electrical wires. Double-check that the power is off and use a voltage tester to confirm there is no electricity running through the wires. Ensure the connections are tight and well-insulated with wire nuts and electrical tape to prevent any potential hazards.
6.Attach the Fixture: Once the wiring is securely connected, carefully lift the ceiling fixture and attach it to the ceiling box. Be cautious not to strain the electrical connections during this process. Use the provided screws or clips to secure the fixture in place, ensuring it is flush with the ceiling surface.
7.Position for Optimal Illumination: Consider the room's layout, furniture arrangement, and the intended lighting effect when positioning the ceiling lights. For general lighting, placing the fixture in the center of the room distributes light evenly and reduces shadows. In task-oriented areas, such as a reading nook or a vanity, ensure the lights are positioned directly above the task area to minimize glare and provide ample illumination.
8.Consider Light Spacing: When installing multiple ceiling lights, maintain consistent spacing between the fixtures to avoid uneven illumination. The spacing will depend on the fixture's size, the height of the ceiling, and the intensity of the light output. For larger rooms, you may need more fixtures or higher wattage bulbs to ensure adequate brightness.
9.Install Dimmer Switches: Dimmer switches add versatility to your lighting setup by allowing you to adjust the intensity of the light according to various activities and moods. Installing dimmer switches offers the flexibility to create different lighting atmospheres, from bright and lively to soft and relaxing.
10.Test and Adjust: After completing the installation, turn on the power and test the lights. Assess the overall illumination and make any necessary adjustments to the positioning or direction of the fixtures. Pay attention to any areas that may be too bright or too dim and make the required modifications to achieve the desired lighting balance.
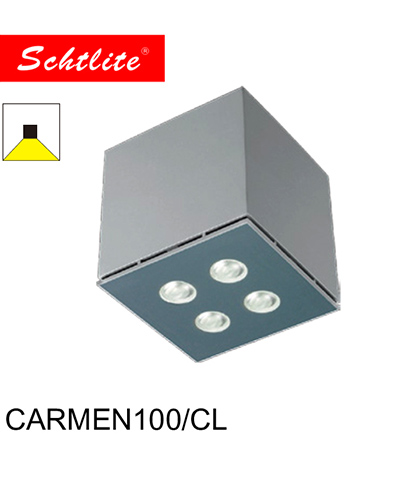
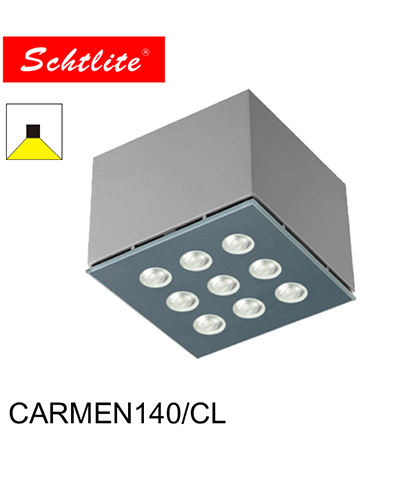
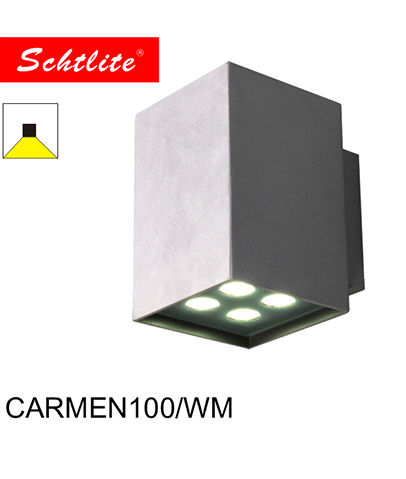
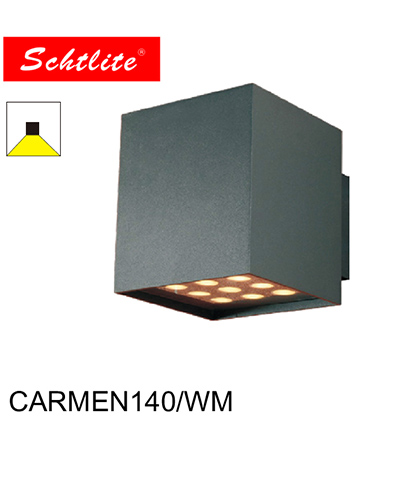
CARMEN Outdoor Waterproof Led Light High Brightness Garden and Park Wall Mounted Lamp
Ceiling Outdoor Mounted Led Wall light CARMEN100.LED.CM CARMEN100.CM is the ceiling wall mounted type for CARMEN100 series. It is feature to be IP65 water proof and 5mm thickness temper glass on its surface.
CARMEN100.CM is the ceiling wall mounted type for CARMEN100 series. It is feature to be IP65 water proof and 5mm thickness temper glass on its surface.
Schtlite Light Co., Ltd. is a professional wholesale LED outdoor light manufacturers, both in trading and manufacturing of full outdoor ranges.
 English
 Le français
 España